Quick Start
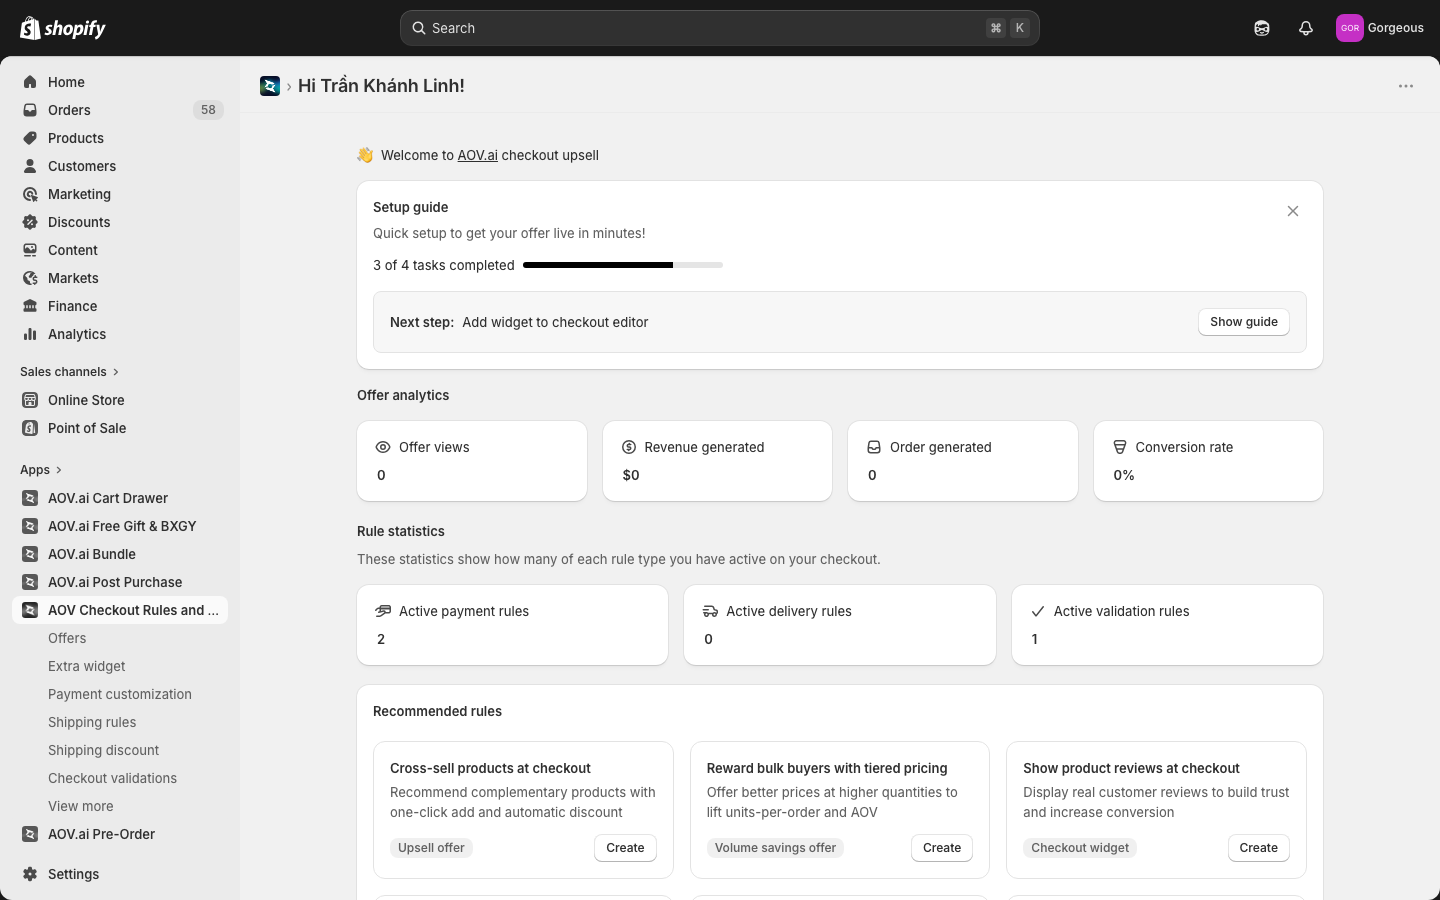
Get started in under 5 minutes. The app's Dashboard includes a Setup guide card that walks you through each step — follow along below, or click the tasks in the guide directly.
Step 1: Check your plan
- Shopify Plus? You can use all features — Offers (Checkout Upsell, Volume Savings), Extra widgets (Discount List, Trust Badges, Testimonials, Image Carousel, Custom Banners, Custom Buttons, Cart Editor), Payment Customization, Shipping Rules, Shipping Discount, and Checkout Validations.
- Other plans? Payment Customization, Shipping Rules, Shipping Discount, and Checkout Validations are available right away — no extra setup needed. (The Offers, Extra widget, and Integrations menus are hidden on non-Plus plans.)
See the Plans & Requirements page for the full feature comparison.
For Shopify Plus merchants
Step 2: Create your first offer
- In the app, go to Offers → Create offer, then pick an offer type — Checkout upsell or Volume savings
- Set trigger conditions (or leave as "No condition" to show to all buyers)
- Add products and optionally set a discount
- Enter an offer name and click Save
Step 3: Add the widget to the Checkout Editor
- Go to Shopify Admin → Online Store → Themes → Customize
- Select Checkout from the page dropdown
- Find AOV.AI in the App blocks panel and add the widget
- Click Save
See the Installation page for detailed steps.
Step 4: Create a checkout customization
- Go to Payment customization, Shipping rules, or Shipping discount in the sidebar
- Choose the action (hide, rename, or reorder a method; or apply a shipping discount) and set conditions
- Click Save
Step 5: Create a checkout validation
- Go to Checkout validations → Create
- Pick a validation type — Custom Rule, Order Limits, Address Validation, Geo Restriction, Regex Validation, or VAT Validation
- Set the rule and error message, then click Save
For non-Plus merchants
Step 2: Create a checkout customization
- Go to Payment customization, Shipping rules, or Shipping discount in the sidebar
- Choose the action and set conditions
- Click Save
Step 3: Create a checkout validation
- Go to Checkout validations → Create
- Pick a validation type, set the rule and error message
- Click Save
Monitor performance
The Dashboard shows two stat sections:
- Offer analytics (Shopify Plus) — Offer views, Revenue generated, Order generated, and Conversion rate across the app
- Rule statistics — Active payment rules, active delivery rules, and active validation rules
Tip: Start with a simple "No condition" offer to collect baseline data, then narrow with conditions once you know which products convert best.